When a local homeowner reached out to us, their goal was simple: give their weather-worn exterior a fresh, clean look that would turn heads and boost curb appeal. But before we could dive into painting, we knew the magic was in the preparation because a beautiful finish always starts with the right foundation.
The First Walk-Through
We began with a full walk-around of the home, inspecting every surface. There were areas where paint was peeling, a few cracks in the siding, and signs of mildew in shaded corners. These weren’t just cosmetic issues—they were red flags that needed attention before a single brushstroke could go down.
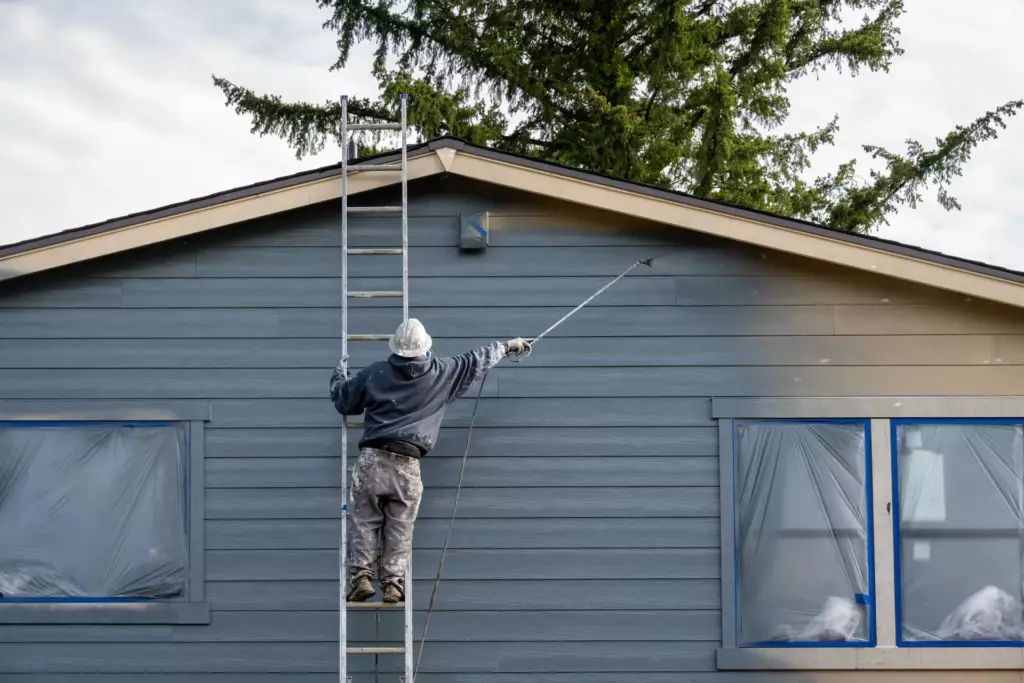
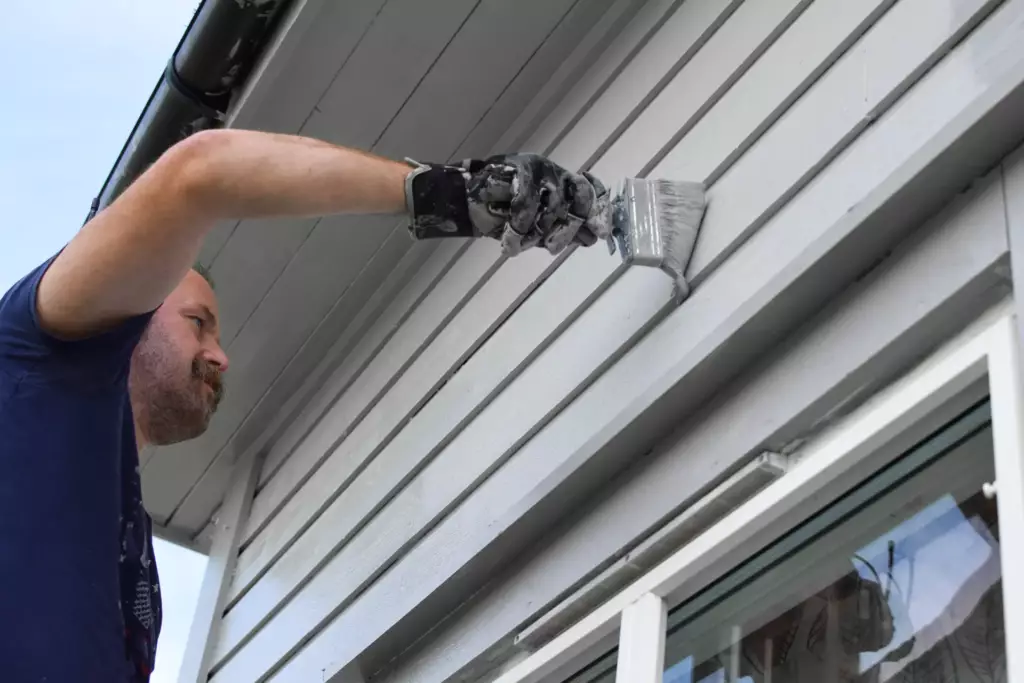
Next came the power washing. Dirt, dust, and years of grime were blasted away to reveal the true surface beneath. It’s amazing how much a good clean can reveal—and how essential it is for paint to stick properly. Once clean and dry, we scraped away the loose paint, sanded the rough edges, and sealed up cracks with weather-resistant caulk.
Protecting What Matters
Before painting, we made sure to protect everything else: flower beds were covered, light fixtures were taped, and the driveway was cleared. Every detail matters when you want a job done right—and we treat every home like it’s our own.
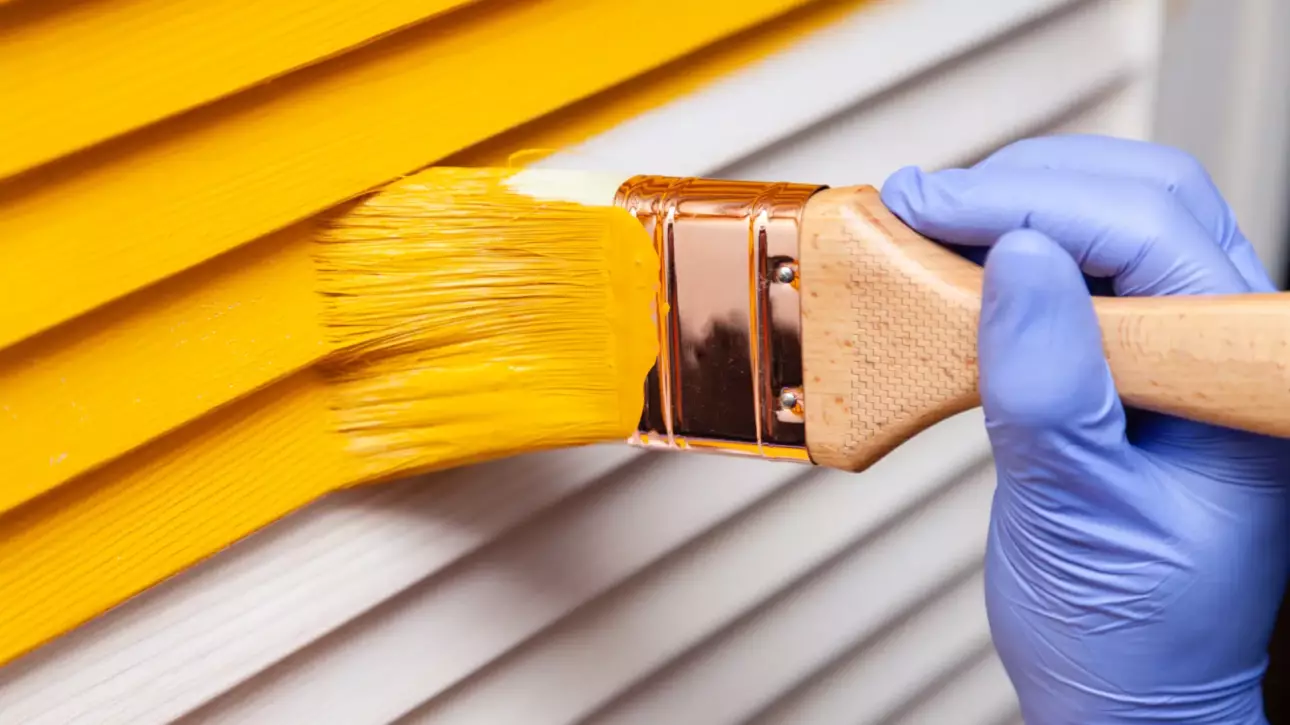
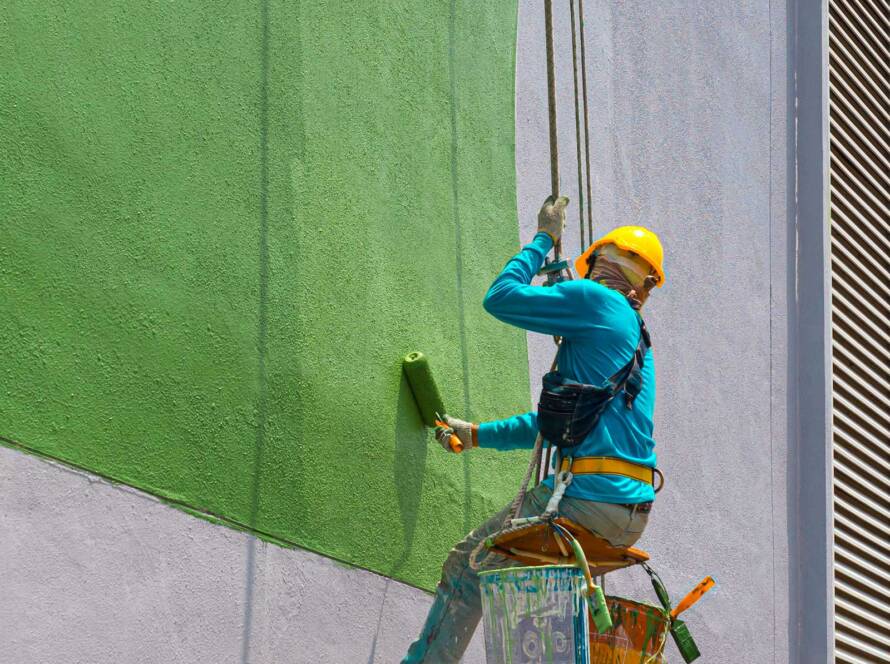
By the time we finally opened the first can of paint, everything was exactly where it needed to be. That prep work paid off—the new color went on smooth, even, and bold. The homeowner was thrilled, and the house looked brand new.
At Painting.Homes, we know great results don’t happen by accident—they’re built through careful steps, attention to detail, and a whole lot of prep. If you’re thinking about updating your exterior, we’re here to guide you through the process and deliver a finish that lasts.